The quarter deck was first. The curved beam was perpendicular to the centreline but I had bought the quarter deck out on a curve to meet the side decks, so cutting the fill pieces was interesting. Decided on 6mm ply like the deck to take the curve, three extra layers for a total of over 30mm with the glass on top.

And a wide shot:

While they were clamped in place I decided the time had come to cut the lids off the deck storage at the front of the cabin. Spent a bit of time measuring widths of wood supports under the roof and remembering how wide the supports were, then pencilled out the shape on the cabin top. Remembered the cabin front was 12mm ply and pushed the lid 10mm forward. Turns out later lucky I did.

With the curve of the cabin top I used a tenon saw to start the cut on one of the long sides until it was through the 12mm top, then you could slide in the jigsaw (note the adjustment on the aft side).

And with the lid off. Note the edge of the cut at the top of the photo which turned out only 5mm from the top of the sloped cabin front. With the slope on it the jigsaw blade would have been hitting the ply if I hadn't adjusted the mark. Sometimes you can be lucky!

Once the clamps came off the quarter deck, two layers of 9mm ply went under the bridge deck with epoxy.

When I covered the delilah post with 9mm ply to meet the seats there were gaps down both sides. The cover piece angled back, and curved forward and was a pain to cut. I knew I would cover it down the track more neatly, below is the result in 9mm ply with epoxy glue around the edges and onto the post. Also note the fillet on the bottom of the quarter deck front onto the curved beam.

Then back to the bridge deck to trim up the edge.

And the result from a distance just after cutting.

With all the sides of the cockpit in place, I got out the glass roll and trimmed up a piece to cover the floor, the front and rear to the top and partially up each side. Below shows it about to be epoxied (blue ice cream container top left and roller). The right hand edge has just fallen down. I usually pre coat the ply but it was so involved cutting corners and around the floor locker access and fuel filler that I decided to leave the glass mat in place and wet it out rather than try and lift the mat out and later re position it.

After glassing. Three coats of epoxy wet on wet, nice thick layer on the floor.

Then out came the paint brush. Good layer of oil based undercoat over the epoxy, then two layers of water based exterior house paint.

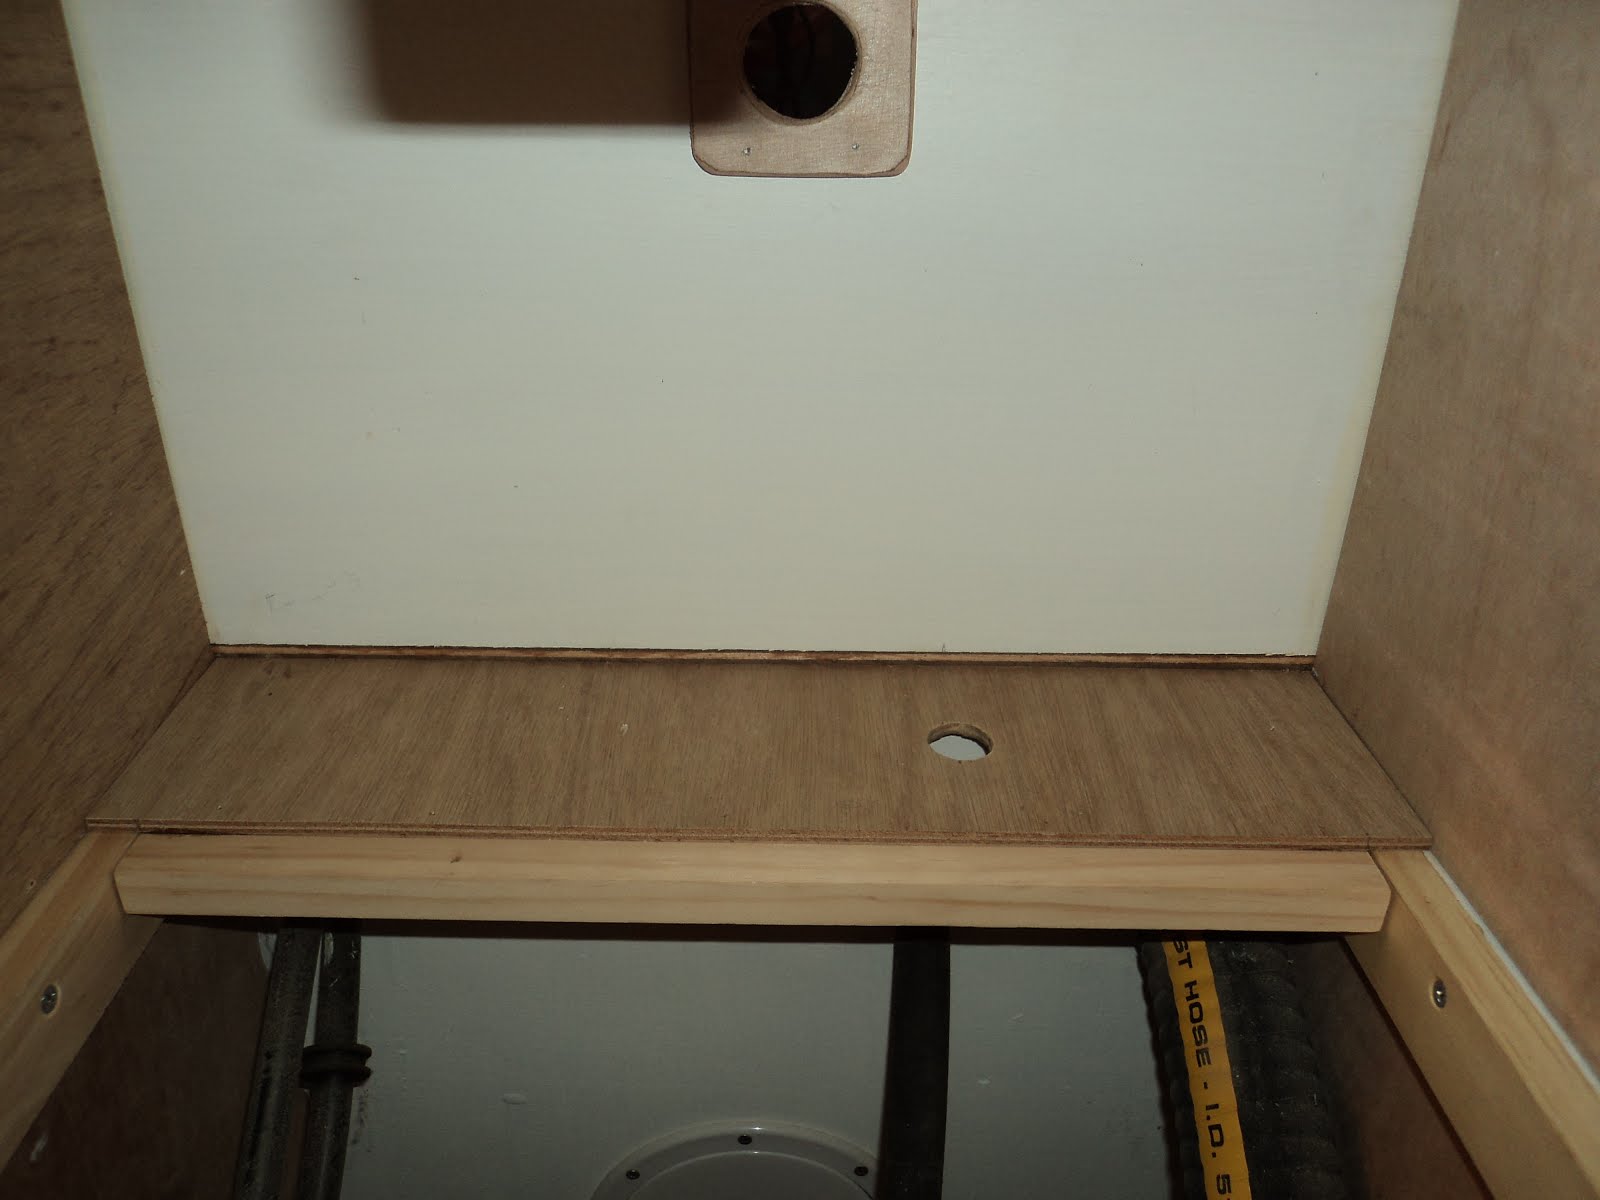
I was worried that something would fall on the PVC drains and crack them, so built 9mm covers for the tops both sides, supported down onto the floor. With all the extra work I should have just built the entire drains as per the plans, but I was worried about getting the locker waterproof from the drains and it is done now. Below is with the covers in place. They are not glued in, just screwed each side so I can push them into the middle of the locker to get at the pipes if I need to down the track (hopefully NOT!).

I also gave the storage lockers the paint treatment, after epoxying the cabin side bit that I had missed on construction, the edges of the ply cabin top and the lids (didn't paint them yet, they need more epoxy). I also put solid wood stops on the edges to hold the lids up. I will put a hinge on the short edge closest to the centreline (left of picture) with a bolt or latch on the outside. But that is after fairing and painting the cabin.

Last bit of the cockpit seat after trimming off excess glass on the sides was the smelly locker lid / rear seat. It was pre coated underneath with epoxy, and while I was painting got the same treatment as outlined above. Picture shows it glued and screwed in place, the clamps are holding the middle bit of the curved beam I cut out long ago and put aside. It is now the doubler under the forward edge, 24mm thick (3 x 8mm laminated, 20mm wide). I have to trim the cockpit edge once everything is set.

Then I will be glassing another layer on the sides of the cockpit floor (the mat didn't go all the way up on the sides) and the seats / coaming top. I have also started the final storage area doors each side of the engine bay, photos to come.